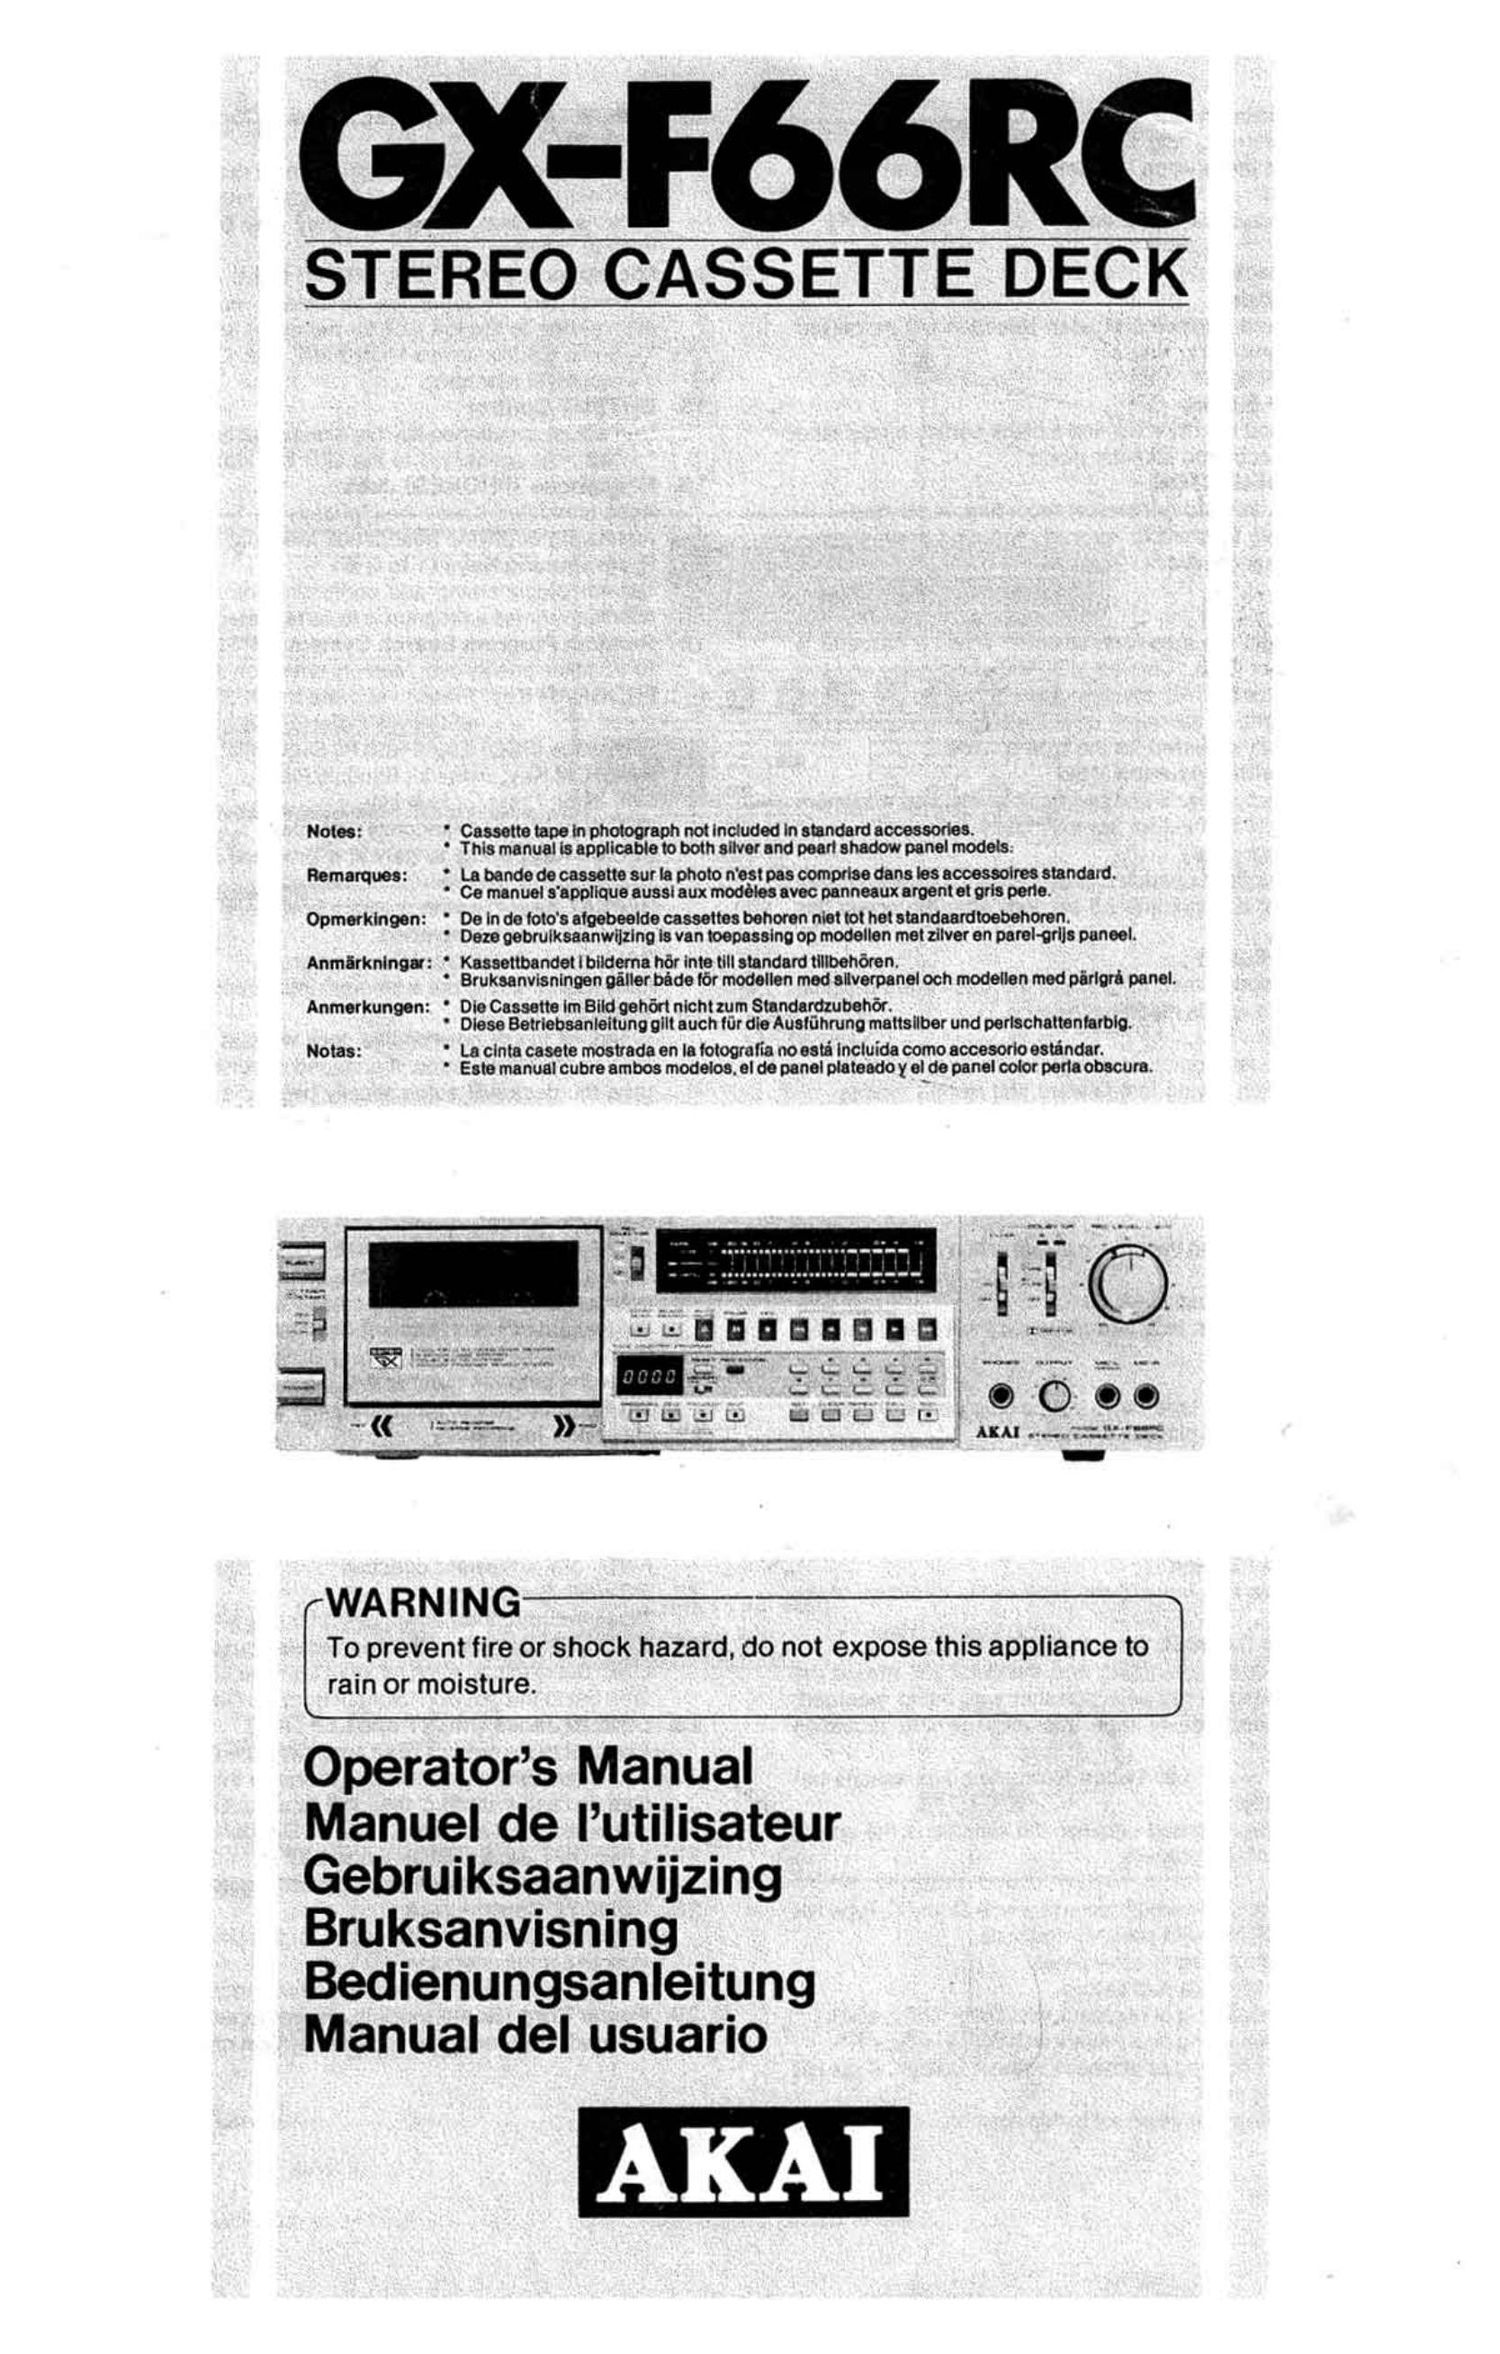
Akai GXF 66 RC Owners Manual
This is the 15 pages manual for Akai GXF 66 RC Owners Manual.
Read or download the pdf for free. If you want to contribute, please upload pdfs to audioservicemanuals.wetransfer.com.
Extracted text from Akai GXF 66 RC Owners Manual (Ocr-read)
Page 1
X-F66RC
STEREO CASSETTE DECK
Notes: 'Caasette tape ln photograph not Included In standard accessories.
Thls manual la applicable to both silver and pearl shadow panel models.
Remarquee: La bande de cassette sur la photo n 'est pas comprise dens lee aooessolree standard
Ce manual 3 'appllque aussl aux modem avec panneaux ament et arts parts.
Opmerklngen: ' De In de toto a algebeelde cassettes behoren nlet tot het atandaardtoebehomn.
' Deze oebrulkesanwllzlno te van toepaaslna op modellen met silver en parel-quja peneel
Anmlrknlngu: ' Kaaeettbandet Iblldema nor Into till standard tillbehoren.
' Bruksanvisnlnpen caller bade tor modellen med allverpanel och modellen med pirlgra panel.
Anmerkungen: ' Dle Cassette lm Blid gehért nicht zum Standardzubehér.
' Dlese Betrlebaenleitung gllt auch lur die Aueluhrung mattsilber und perlschattenlarblg.
Notes: ' La clnta casete mostrada en la fotogralia noeeta lncluida come acceeorlo eeta'ndar.
' Esta manual cubre ambos modeloe. el de panel plateado y el de panel color perla obscure.
WARNING
To prevent fire or shock hazard, do not expose this appliance to
rain or moisture.
Operators Manual
Manuel de lutilisateur
Gebruiksaanwijzing
Bruksanvisning
Bedienungsanleitung
Manual del usuario
Page 2
WARNING- ' - + J
POWER REQUIREMENT
Power requirements for electrical equipment differ from area to area.
Please ensure that your machine meets the power requirements in your
area.
if in doubt. consult a qualified electrician.
120V. 60 Hz for USA and Canada
220V. 50 Hz for Europe except UK
240V. 50 Hz for UK and Australia
110VI120V/220V/240V. 50/60 Hz internally switchable for other coun-
tries.
VOLTAGE CONVERSION
Do Not Attempt This Conversion Yourself.
Voltage conversion (Models for Canada, USA. Europe. UK and Australia
are not equipped with this facility). Each machine is preset at the facto-
ry according to destination. but some machines can be set to 110V.
120V. 220V or 240V as required. If your machine's voltage can be con-
verted. refer the following voltage conversion to a qualified Service
Repair Shop or professional service personnel.
1. Disconnect power cord.
2. Loosen holding screws of the top panel and the two top screws of
the rear panel and remove top panel.
3. Remove short pin plug from present holes and replace in correct
holes. Follow the markings explicitly.
-__-\
Power Transformer
Rear Panel \
Short Pin
PRECAUTIONS
RISK OF ELECTRIC SHOCK
DO NOT OPEN
CAUTION: TO REDUCE THE RISK OF ELECTRIC
SHOCK. DO NOT REMOVE COVER (OR
BACK).
NO USER-SERVICEABLE PARTS INSIDE.
REFER SERVICING TO QUALIFIED SERVICE
PERSONNEL.
The lightning flash with arrowhead symbol superimposed
. across a graphical representation of a person. within an equi-
lateral triangle. is intended to alert the user of the presence of
. uninsulated "dangerous voltage" within the product's enclo-
sure; that may be of sufficient magnitude to constitute a risk
of electric shock to persons.
. The exclamation point within an equilateral triangle is intend-
ed to alert the user of the presence of important operating
0 and maintenance (servicing) instructions in the literature ac-
companying the appliance.
--l
Use only household AC power sources.
Never use DC power sources.
Always set the amplifiers volume control to minimum when turn-
ing on or off the deck.
3. Touching the plug with wet hands risks dangerous electric
shocks.
Always pull out by the plug and never the cord.
4. Make sure the power consumption to each audio component
does not exceed wattage specilied.
Only connect other audio components.
5. Only let a qualified professional repair or reassemble the equip-
ment. An unauthorized person may touch the internal parts and
receive a serious electric shock.
6. Never allow a child to put anything, especially metal into this
equipment. A serious shock or malfunction may occur.
7. If water is spilled on this equipment. disconnect and call your
dealer.
8. Make Sure the equipment is well ventilated and away from direct
sunlight.
9. Keep away from heat (stoves. etc.) to avoid damage to the exter-
nal surface and internal circuits.
10. Avoid spray-type insecticides which will damage the equipment
and may ignite suddenly.
11. To avoid damaging the finish never use alcohol. paint thinner or
others similar chemicals.
12. Always place the equipment on a flat and solid surface.
13. Please read this manual in its entirety and keep it handy for further
reference. '
N
This equipment confirms to No. 76/889/EEC standard.
DEW FORMATION
Dew is the term used for the formation of moisture on the very impor-
tant transport section such as the head and the capstan when the deck
is used in places where the humidity is high. subjected to sudden
changes in temperature or moved from a cold place to a warm one. If
the deck is used when dew is present. the tape will stick to the head
and be ruined or tape will not be transport pr0perly. In such cases. do
not use the deck for approximately one hour until the deck is
acclimatized.
Page 11
AUTO PLAY
Forward playback from rewind
Press the Rewind (44 ) and the Fonrvard (D) buttons simultaneously.
' The Forward ( D) button Will flash at approx-
imatetv I second interval.
' it the Forward (D) button is pressed when
the tape is being rewound. the deck will go
into lorward playback.
At the beginning of the forward side of the
tape. the deck will automatically go into lor-
ward playback.
' ii the MEMORY switch was set to ON. the
deck will rewind the tape to approximately
'9999" and then begin lorwrard playback.
f'
:995'
Reverse playback from fast forward
Press the Fast Forward (DD) and Reverse (4) buttons simultaneously.
The Reverse (4) button will flash at approx.
imately 1 second interval.
it the Reverse (4) button is pressed when
the tape is being last forwarded. the deck
will go into reverse playback.
- Tape travel
' At the beginning of the reverse srde ol the
tape. the deck will automatically go into
reverse playback.
if the MEMORY switch was set to ON, the
deck will last torward the tape to approx-
imately 0000" and then begin reverse play-
back.
Reverse playback from rewind
(1) Set the MEMORY switch to ON.
(2) Press the Rewind (44 ) and the Reverse (4) buttons simultaneously.
' The Reverse (4) button wrll flash at approx-
imately 1 second interval.
' It the Reverse (4) button is pressed when
the tape is being rewound. the deck will go
into reverse playback.
Reverse playback mode
Rewind mode
' The deck will rewind the tape to approxi-
mately 9999" and then begin reverse play-
back.
Ll]
L0
LCr
' .r
Forward playback from fast forward
(1) Set the MEMORY switch to ON.
(2) Press the Fast Forward (DD) and the Forward (D) buttons
simultaneously.
' The Forward ( D) button will flash at approx-
imately 1 second interval.
' it the Forward (D) button is pressed when
the tape is being last forwarded. the deck
will go into lorward playback.
Fast forward mode Forward playback mode
° The deck will fast forward the tape to approx-
imately 0000" and then begin forward play-
back.
10